PPTP configuration guide
for legacy macOS X
This guide covers the VPN client connection via PPTP (Point to Point Tunneling) protocol in legacy Apple macOS X. The process is shown on macOS X 10.5.8 Leopard. It is relatively same for macOS X up to 10.11 El Capitan inclusively, though the graphic theme looks different.
1.The very first step to take in configuring your macOS device to work with our service is creating manual configuration files. In this regard, please follow a few simple steps described in our tutorial.
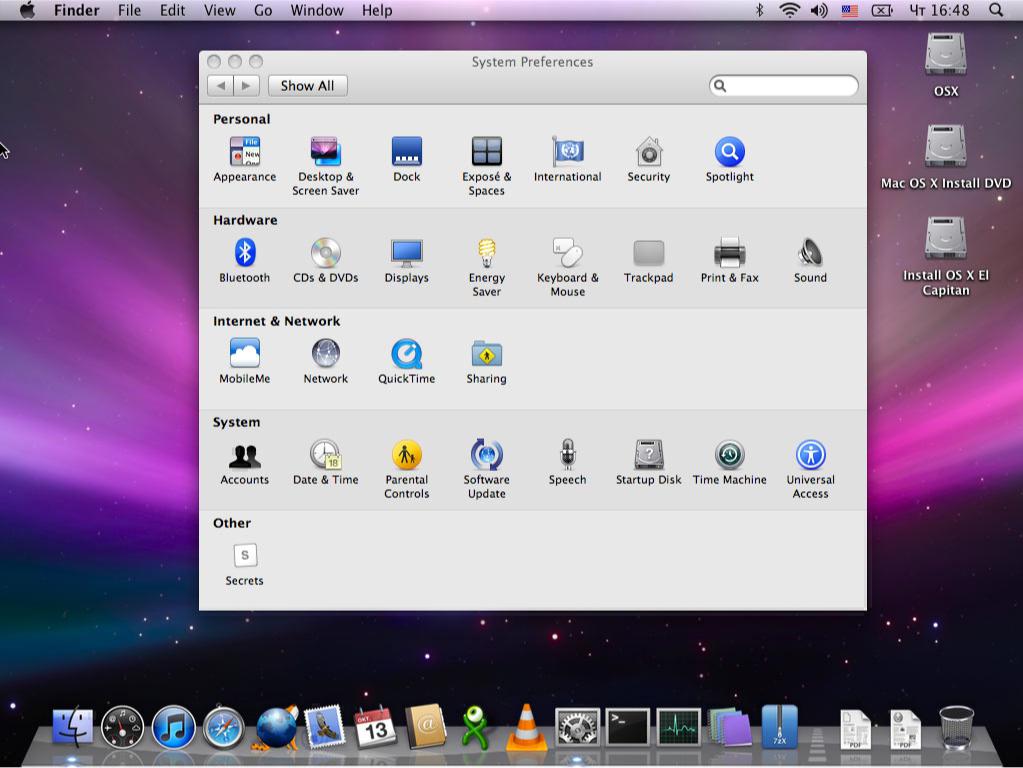
2. The second step is to open System Preferences.
3.Then, open the Network section.
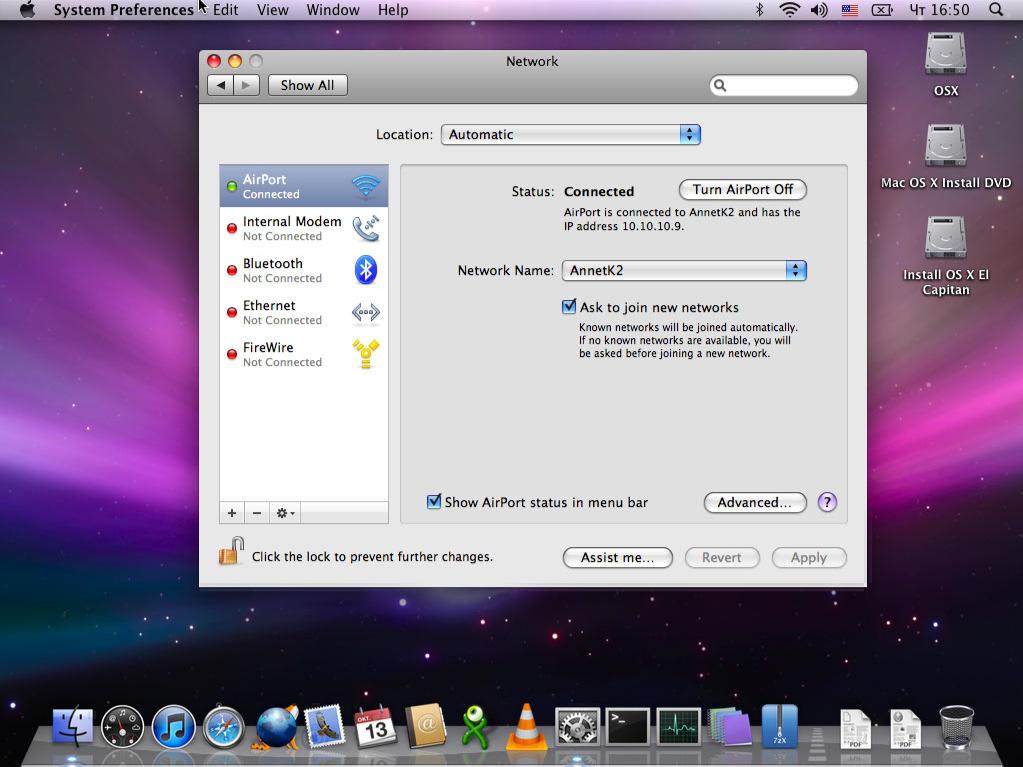
4. Click the + (Plus) button, located in the left corner of the interfaces list.
Note: All the network connections and VPN tunnels are the interfaces for macOS.
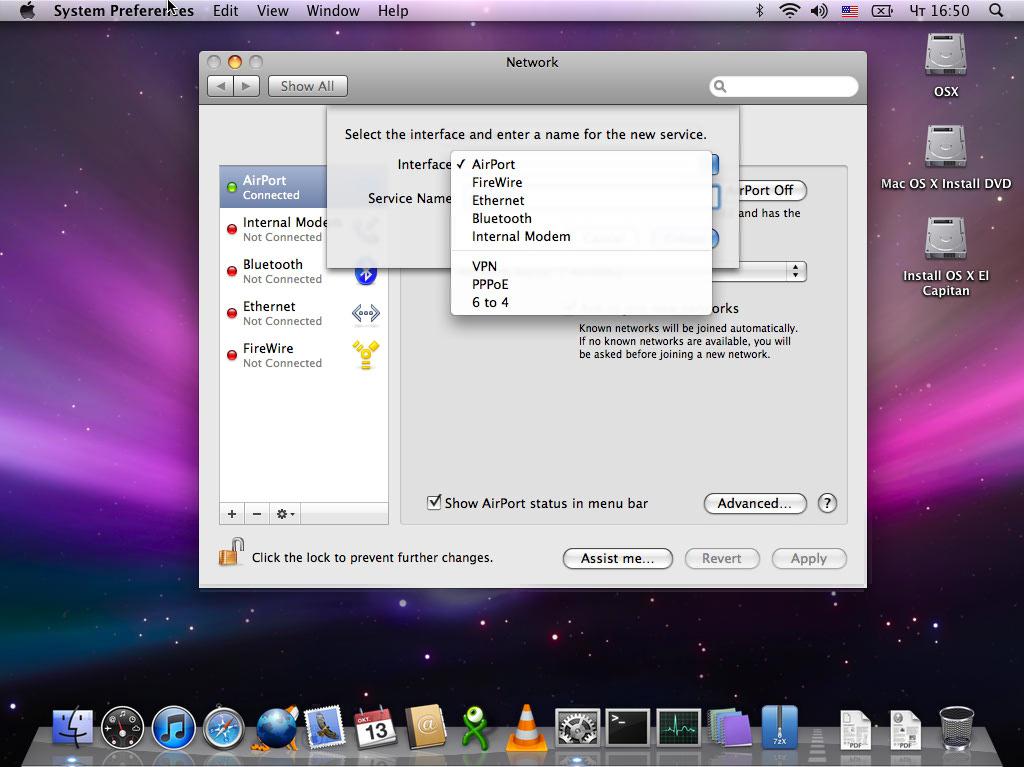
Select the VPN option from the list at the top.
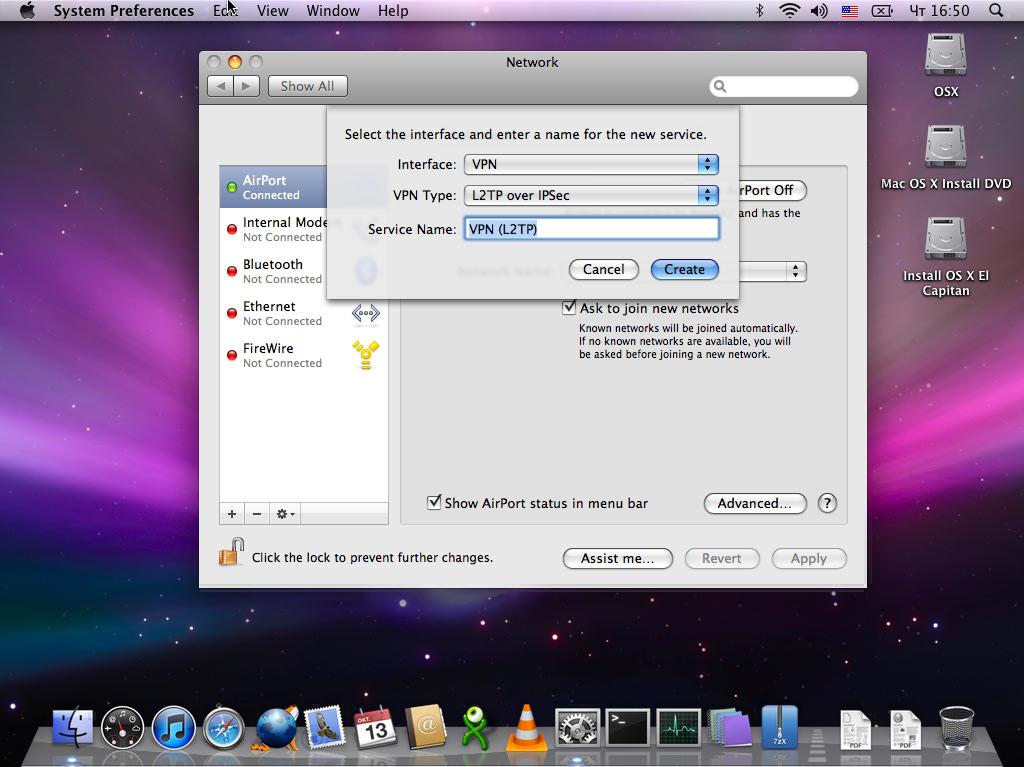
Adjust the options as following:
Interface - VPN
VPN Type - PPTP

Service name has no significant impact on the process. This is the name you give to the connection for your own convenience. You can configure as much connections here, as you want or need. For example, you have a certain list of servers within our system that you need to switch between on a daily basis (i.e. Streaming for watching videos, California 1 for downloading torrents, Dallas for regular browsing, and so on). All these settings will be accessible to you at the simple drop down menu, activated by a little icon in the menu bar later on.
When you are done with the menu, please click Create.
5. Now you should see the following:

Adjust the setting as shown below:
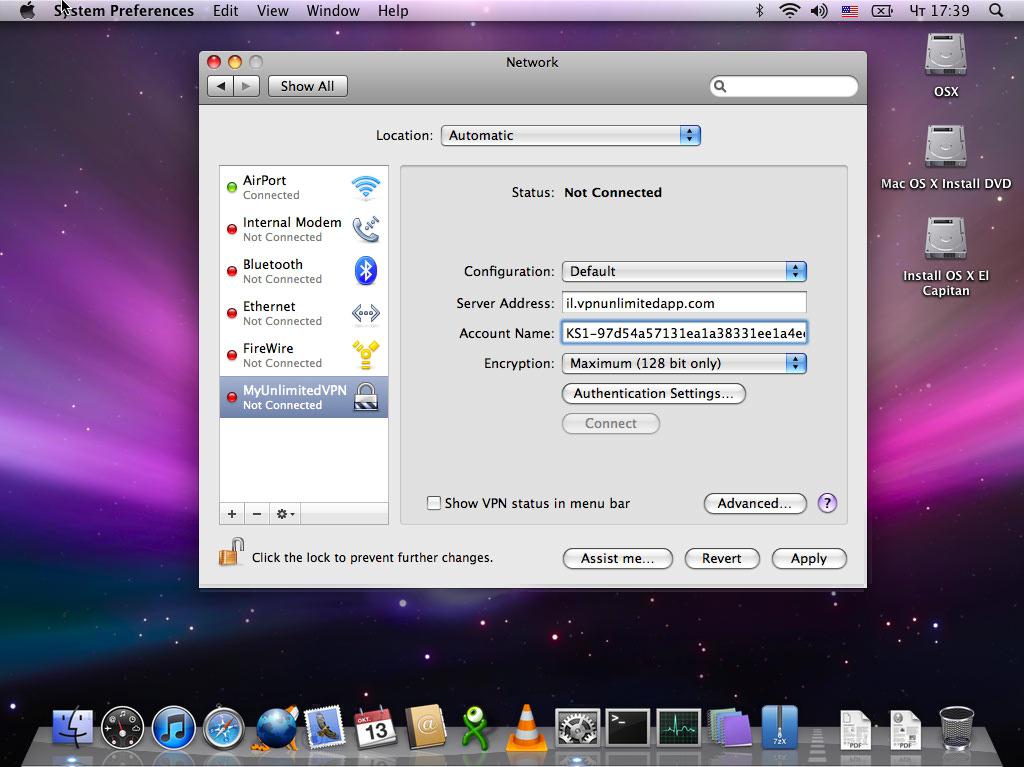
- Configuration option may remain Default, unless you prefer to use that macOS feature.
- Server Address should contain the URL address from the Domain name line in the generated configuration settings. Make sure you have entered it correctly, or just copy it from the list to avoid errors later on.
- Account name is the login you have received within the generated configuration set, the entire string.
- Encryption should be set to Maximum (128 bit only). This is a critical step, as the connection will fail if it is set to Automatic.
- The Show VPN status in menu bar checkbox should be enabled in order to allow you to monitor the VPN state, and easily connect or disconnect it.
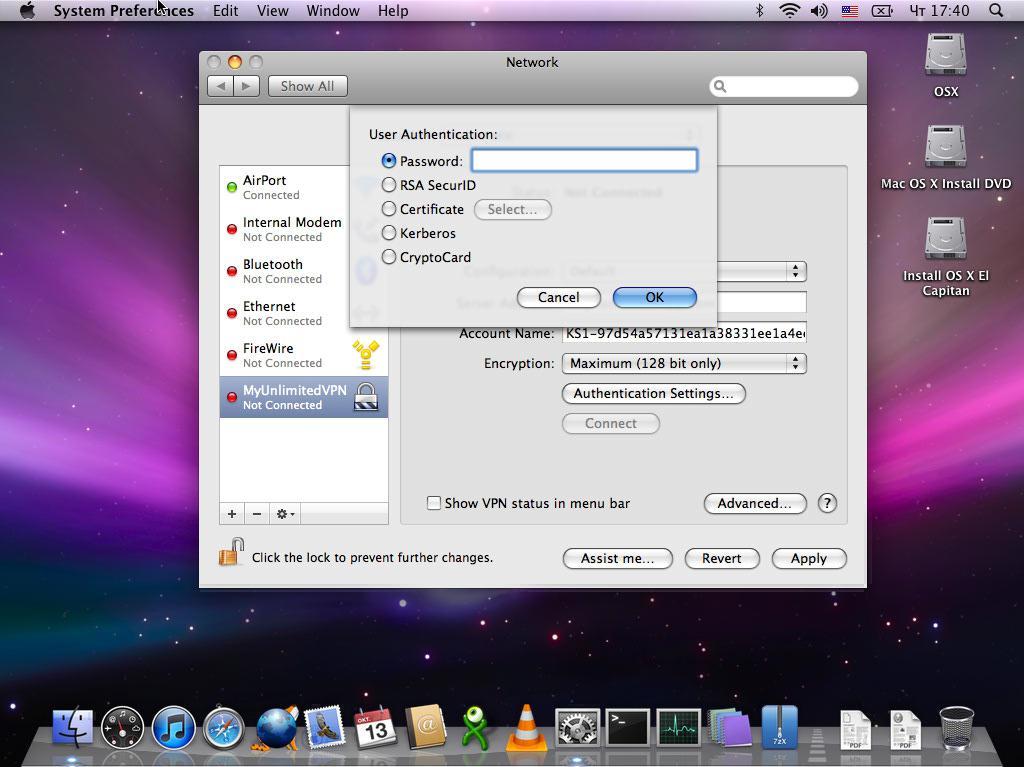
After that, click Authentication Settings…
You will see a window as shown below. Please input your password from the configuration set (NOT your account password) in the Password field.
6. Now, click Advanced…
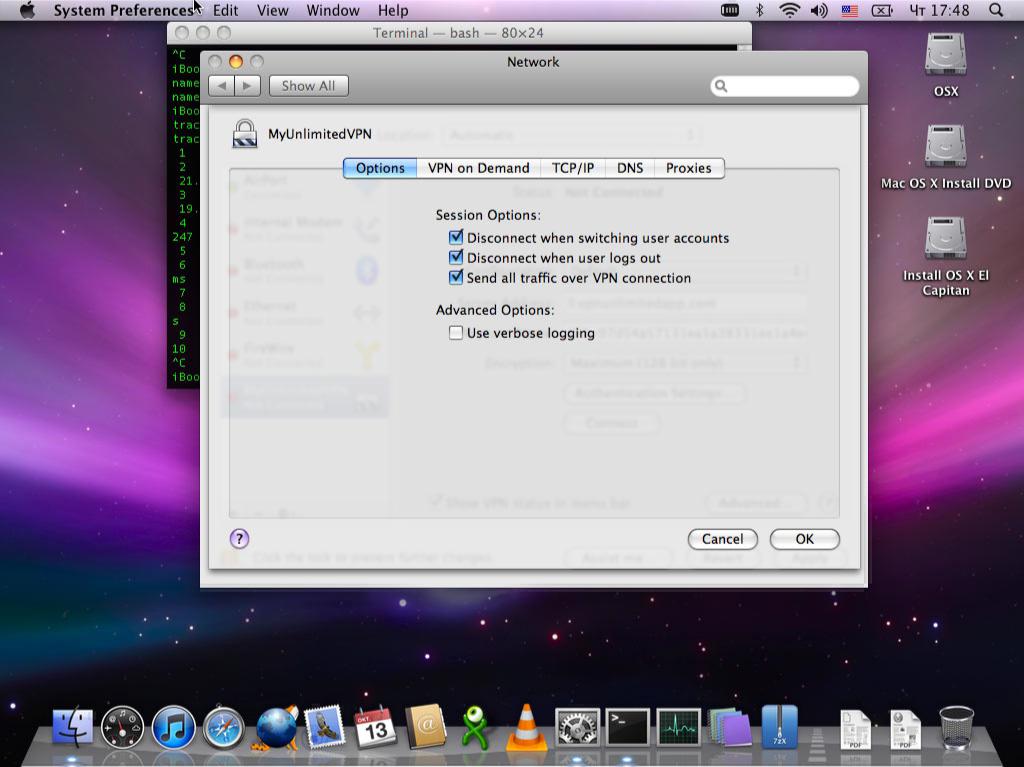
Make sure that the Send all traffic over VPN connection option is enabled. This step makes your macOS transfer all data via a newly created VPN connection.
7. Click OK, and then click Apply.
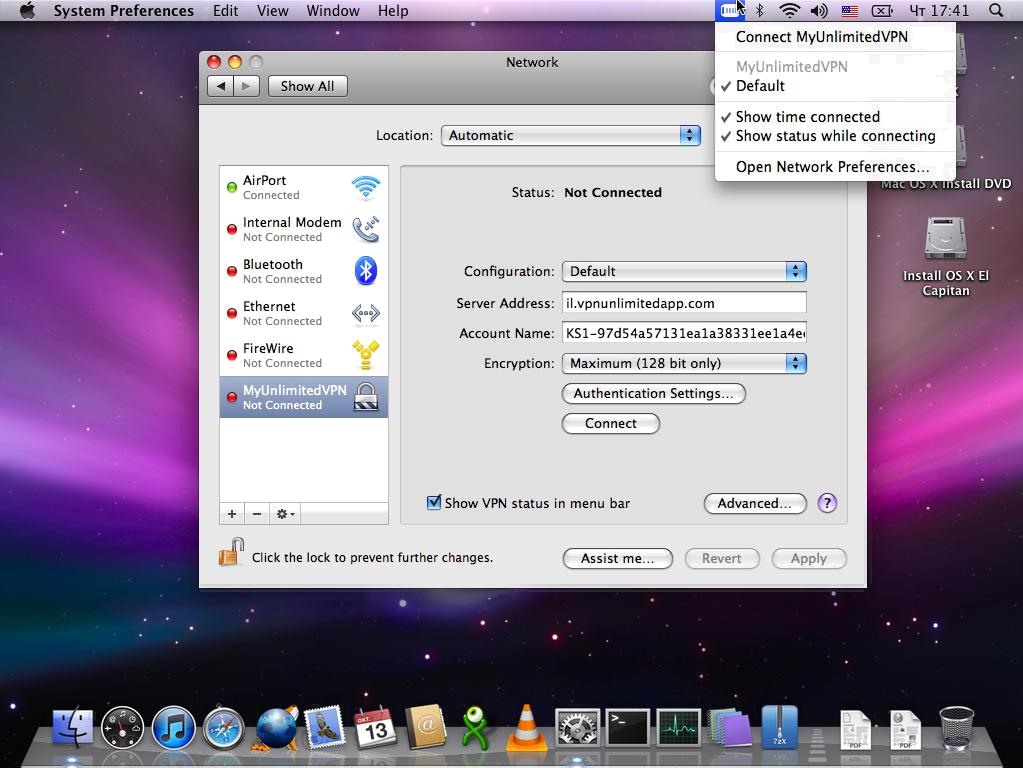
You have two options to initiate the connection:
- Use the newly appeared VPN icon in the menu bar (located next to AirPort, Battery indication and the clock)
- Click Connect in the configuration screen you have been using following this guide.
Both options are shown below.
The icon will show connection progress (Connecting > Authenticating > Connected). When the connection is established, you will see the connect time counter.
That’s it! You have successfully configured the VPN Unlimited connection via the PPTP protocol for your legacy macOS system.
Troubleshooting basics:
Authentication failed - make sure you used a password from the configuration set, not the account password. Also, make sure the login is typed/copied correctly.
Could not connect to server – At first, check that you are getting the internet. Then, make sure the server address is correct. If the issue happens after some period of correct behavior, the server can theoretically be down for some kind of emergency. Try with other servers from the list, or contact our support team.
Disconnects right away or fails to connect after some time of correct behavior - check the subscription status at my.keepsolid.com. The manual connection as described in this guide cannot verify your account subscription status. Therefore, if the subscription is expired, the service will just disconnect.
If you have other questions, comments, or suggestions regarding our service, please contact our support team at support@keepsolid.com.
Additional info:
If you prefer to use custom DNS servers instead, you can do so by navigating to System Preferences > Network > Advanced > DNS.