OpenVPN configuration guide for all major platforms
OpenVPN is one of the most popular protocols to establish a VPN connection thanks to its connection speed, performance, and security qualities. This guide will walk you through the OpenVPN setup on the most popular platforms, such as iOS, Android, macOS, Windows, and Linux. So let's start!
First of all, you need to create the OpenVPN configuration files. In this regard, please follow a few simple steps described in our tutorial.
Now, choose your platform and follow a few simple steps.
1. Execute the following commands in the terminal:
sudo apt install openvpn
sudo apt install network-manager-openvpn-gnome
sudo systemctl restart network-manager.service
2. Right-click the network icon, and select Edit Connections…
3. Click Add, select Import a saved VPN configuration… from the drop-down list, and click Create.
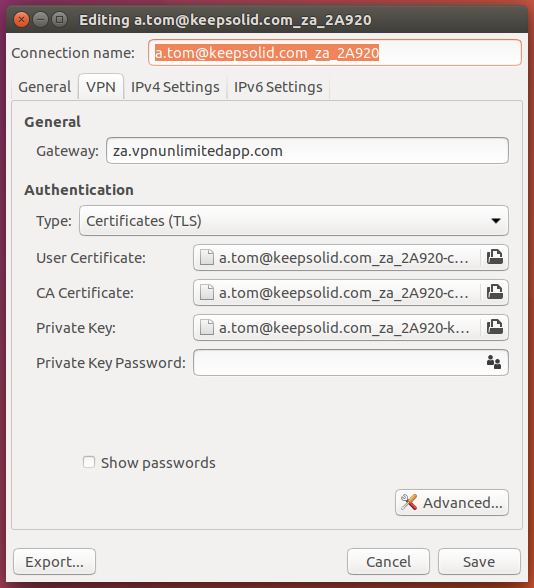
4. Choose the configuration files corresponding to the appropriate servers, and click Save.
Important! At the following screen you should not add or edit any information.

You can import as many files as you wish to be able to switch between VPN servers.
After pressing Save, you will find a new VPN configuration in your Network Connections list.
5. When you are done with importing configuration files, right-click the network icon again, select the desired server from the VPN Connections tab, and click Connect.
That’s it! Now you are connected to the VPN server via the OpenVPN protocol.
Important! Please note that you will need to configure your device using the generated settings by yourself at your own risk.

